Add your brand's styling and marketing components to your event's Chat Panel, creating a cohesive look within the webinar room.
Add background images, change the color of the text and chat icon and lock background images to match the width or height of the chat.It's a great way to add brand styling and marketing components to your events.
Learn how to customize your session's Chat Panel below:
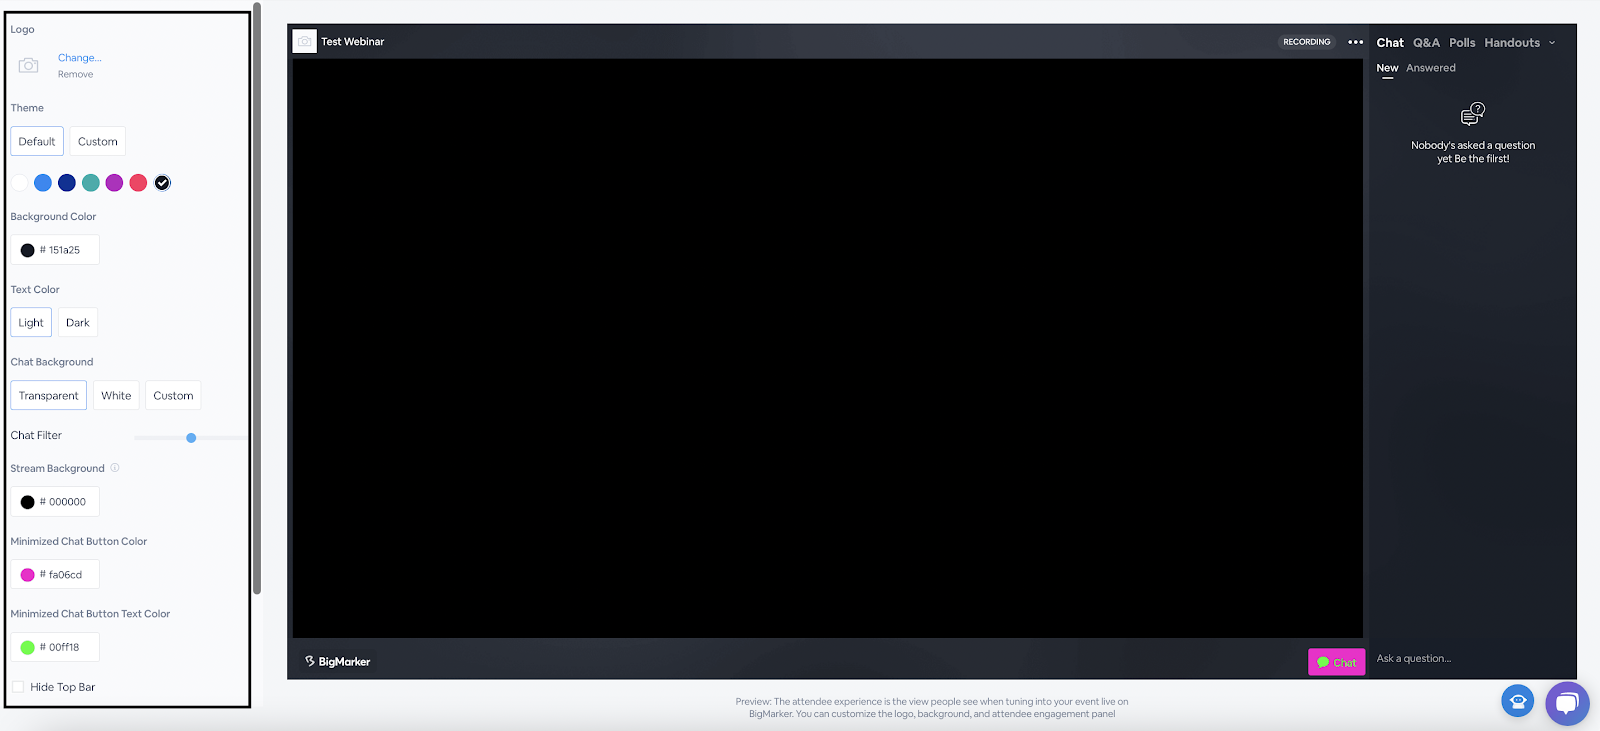
How to Customize the Chat Background
- Log in to your webinar and select theManage Webinartab.Staying in this tab, scroll down toLive Attendee Experienceand selectCustomize.
- Scroll down to theChat Backgroundsection.Select from the following background options:Transparent,White, andCustom.
Transparent: If selected, the background of the Chat Panel is the same as the rest of the webinar room (as shown below).
White: Select a white background (as shown below).
Custom: Upload your own background image.Drag and drop an image of your choice into the box provided or select the file of choice.
You can also lock the image's height or width in the Chat Panel by clicking eitherLock WidthorLock Height.
Here, you can also customize the text in the Chat Panel.UnderChat Color, selectCustomand enter in the hex code, or use the chat color dropdown menu and drag the mouse around to find a color.SelectSave & Exitto complete.


Watch the video below to see this in action:
How to Customize the Chat Icon
You can now customize the chat icon for the Chat panel.This new customization aids in matching everything to your brand style and guidelines.
1. Select a color or enter in the hex code for theMinimized Chat Button ColorandMinimized Chat Button Text Color.
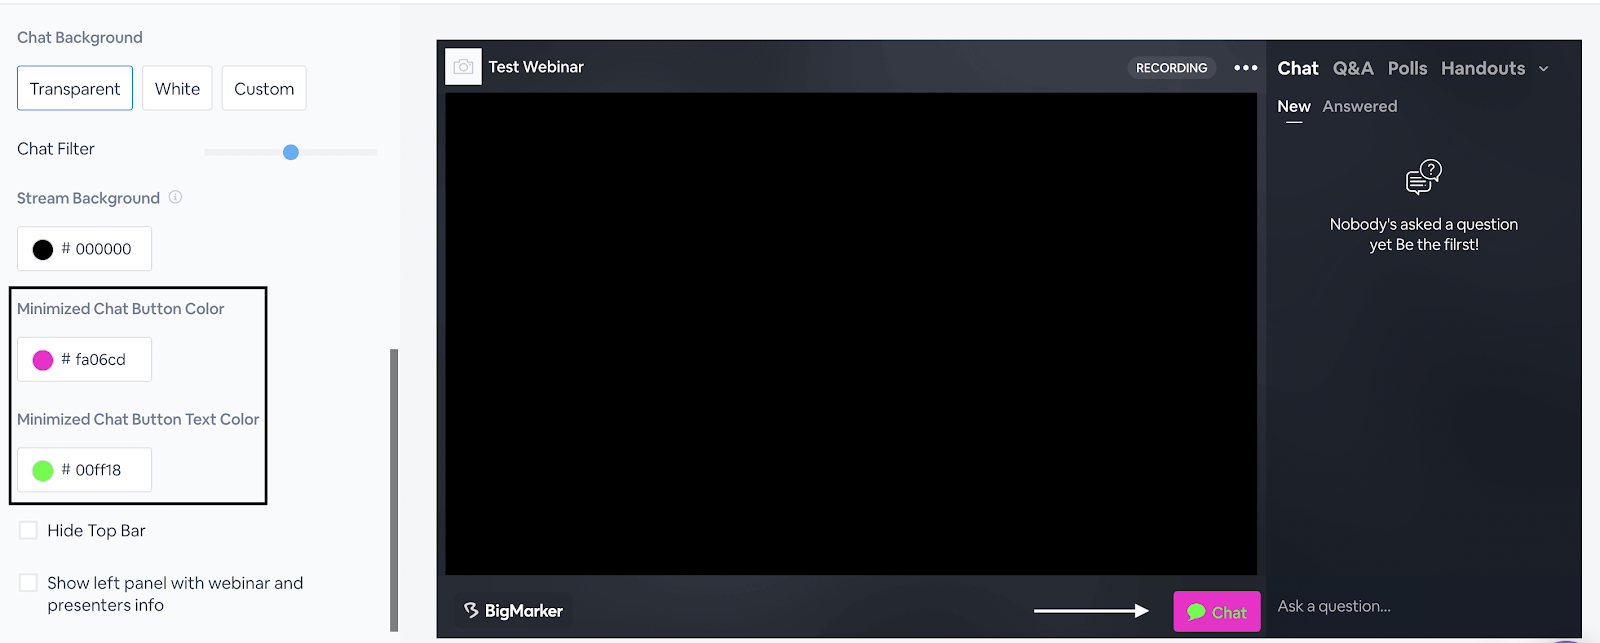
2.ClickSave & Exit