There are two simple ways to ensure your attendee check-in process is seamless and easily manageable.
Start your event or festival off on the right foot with our quick and easy check-in process, using theScanner App.Below you'll find information on how to either scan an attendee's unique and personalized QR code, or search their name in your attendee list in order to get them checked-in and on their way.
Scanning Personalized QR Code
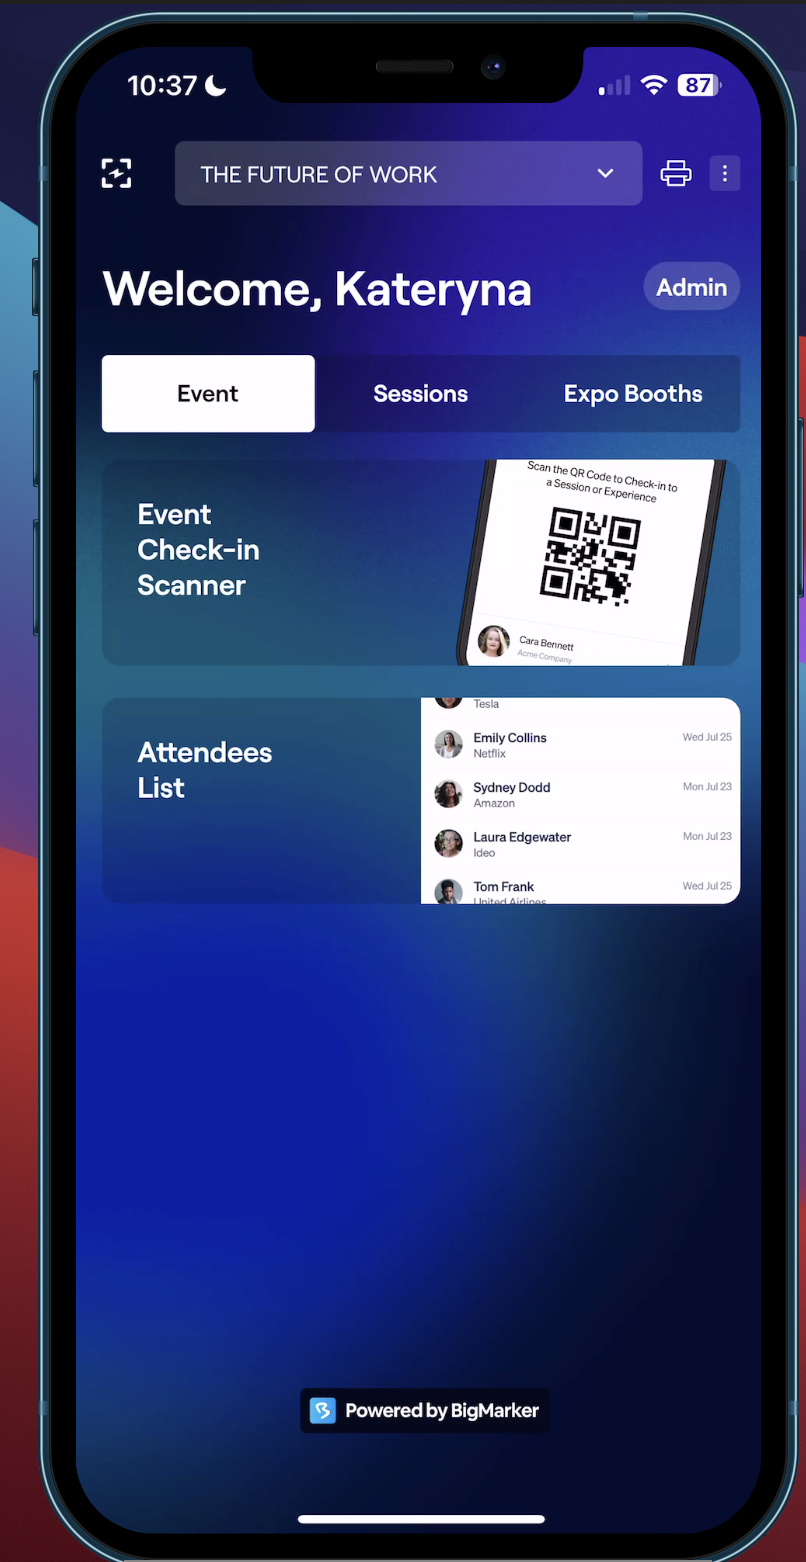
Upon check-in, instruct attendees to scan their personalized QR code, which they received in their confirmation email.Simply selectEvent Check-In Scanner.
The following screens will walk you through the check-in process, and will look something like this:
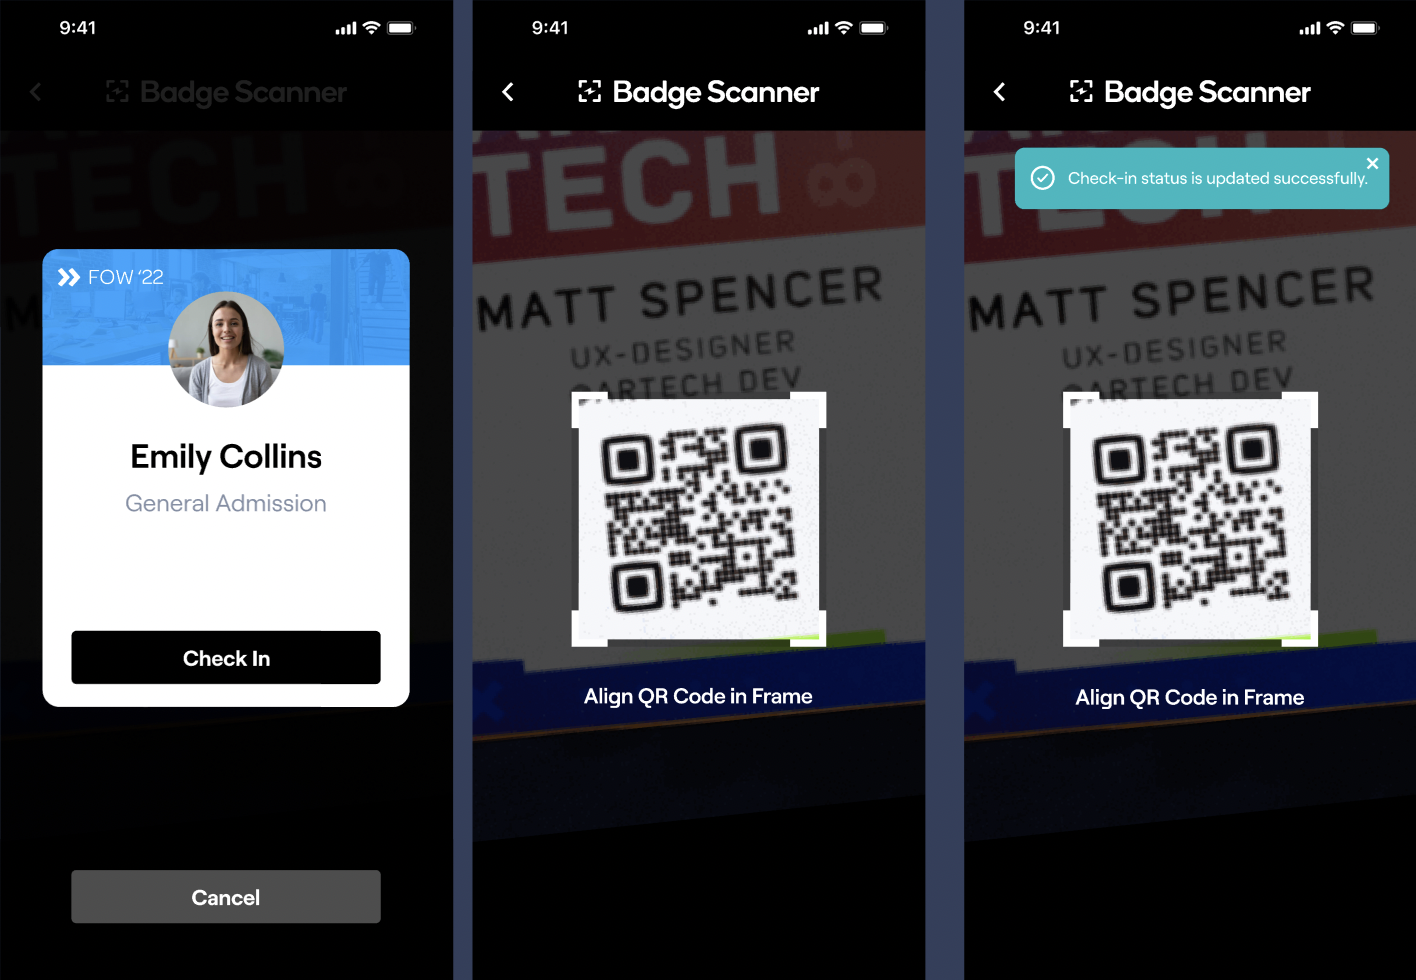
Note:please note that the pass title will be listed below the attendee name if registrant purchased a pass while registering for the event.
Searching Attendee List
An alternative option to scanning a QR code is searching your attendee list for the attendee's information.Back on the home screen, you'll selectAttendees Listfrom the Event check-in options.Then, search your attendee's name from the list.

Select the attendee's name once you've located the correct information.ClickCheck Into complete the process.

Tip: It is also possible to undo a check-in.Simply click through to the attendee and once their information populates, selectUndo Check-Inat the bottom of their card.
Additionally, Scanner App users can see the room occupancy percentage, as well as the details on how many people were checked-in out of the capacity set up on the session level.
The setup instructions are simple.Open your app and follow the steps below:
- Event admin -> Sessions -> Manage -> Settings -> Capacity & Waitlist -> set a capacity
- Activate event in the Scanner App
