Create sessions that your attendees will attend and engage with throughout the duration of your Virtual Event
Create your sessions for your Virtual Events.These sessions are the bread and butter of your event, as they will be what you attendees engage with virtually.Imagine a series of webinars located in one central location, these are your sessions.BigMarker users should follow the following steps to create sessions for their Virtual Events.
Creating Sessions
1.On your Virtual Event's Manage Event dashboard, clickSessions.

2.ClickAdd Session.

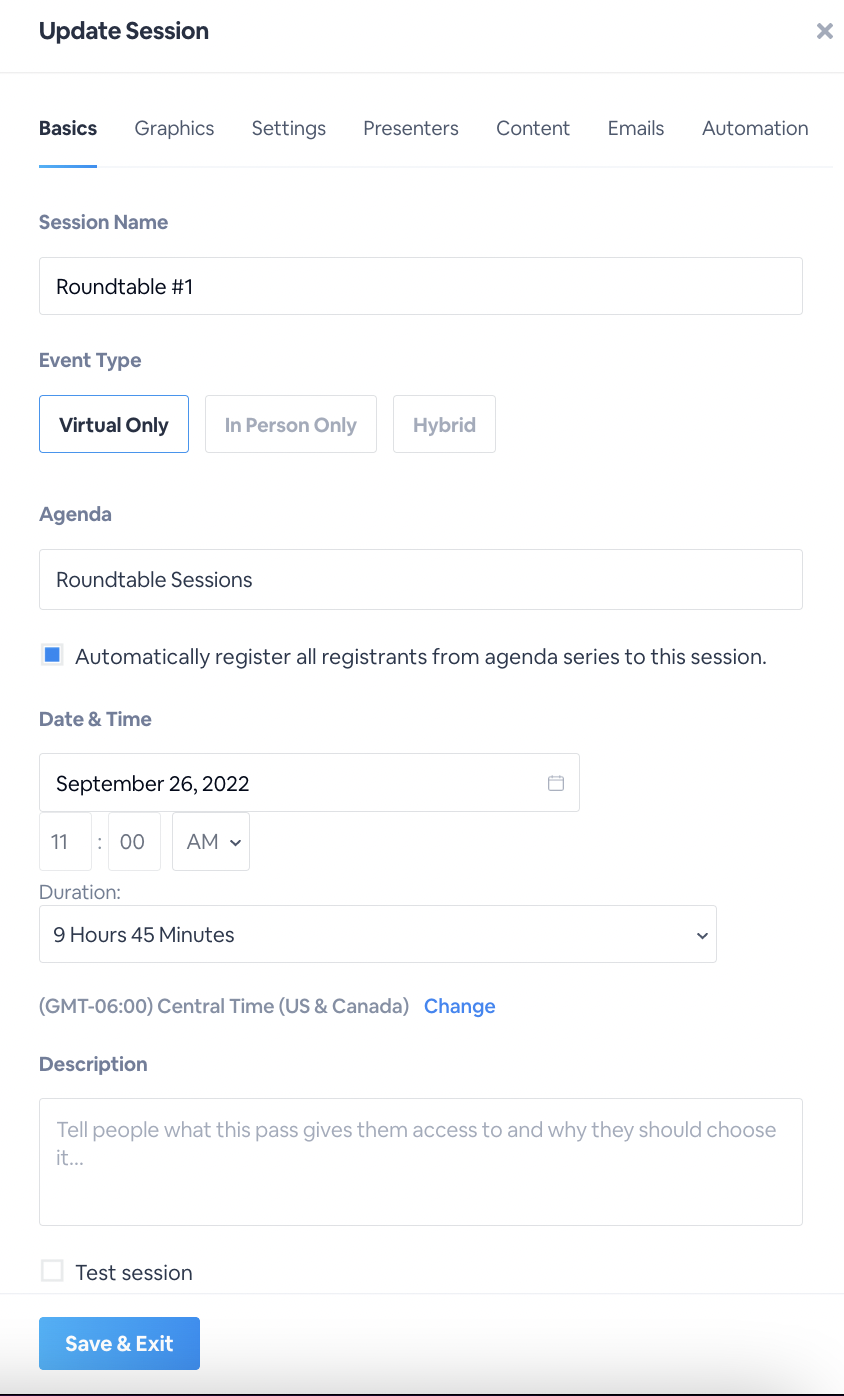
3.Give your session aname.

4.Select whether the session will bevirtual, in person onlyorhybrid

- Ifin person or Hybridis selected, use the dropdown menu to select the room

- Ifhybridis selected, choose if the session will be streamed, recorded and use the dropdown menu to select the room.This will place tags on the companion app per session with these tags displayed as a visual for attendees.

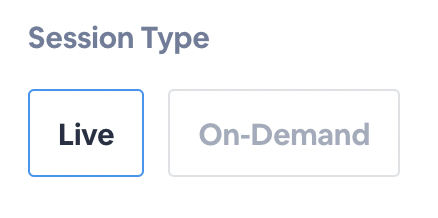
5.Select whether the session will beliveoron-demand
6.Select theagendayou would like the session to be attached to.(Learn more about your event's Agenda here).

7.Set thedate, timeanddurationof the session.ClickChangeto change the timezone the session is in.

8.Add adescriptionabout the session

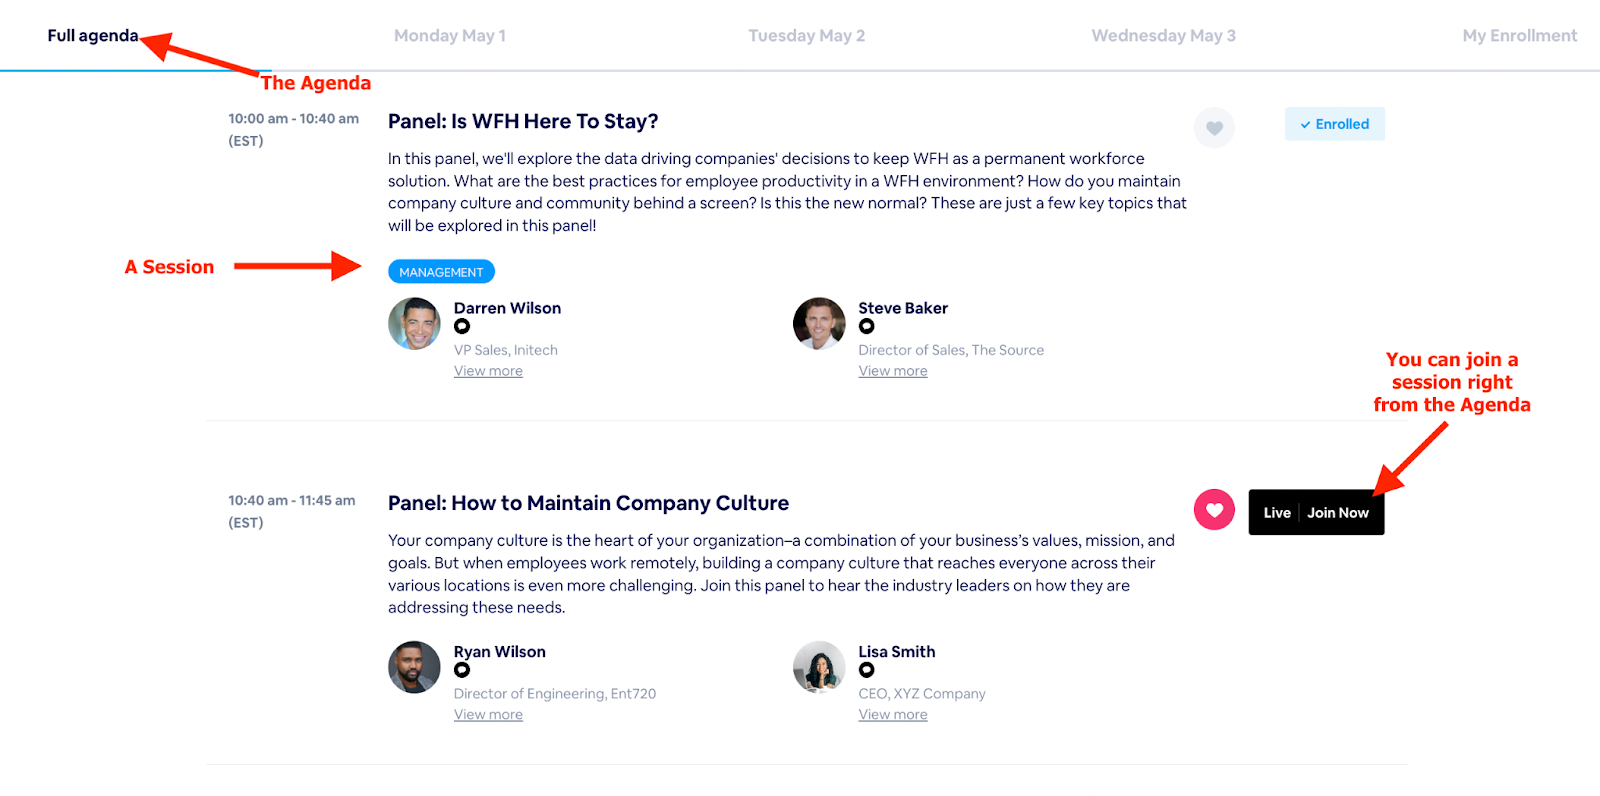
9.Your Agenda will show all the sessions contained in your Virtual Event so attendees can choose which sessions they would like to attend.Below is an example of an Agenda with sessions.
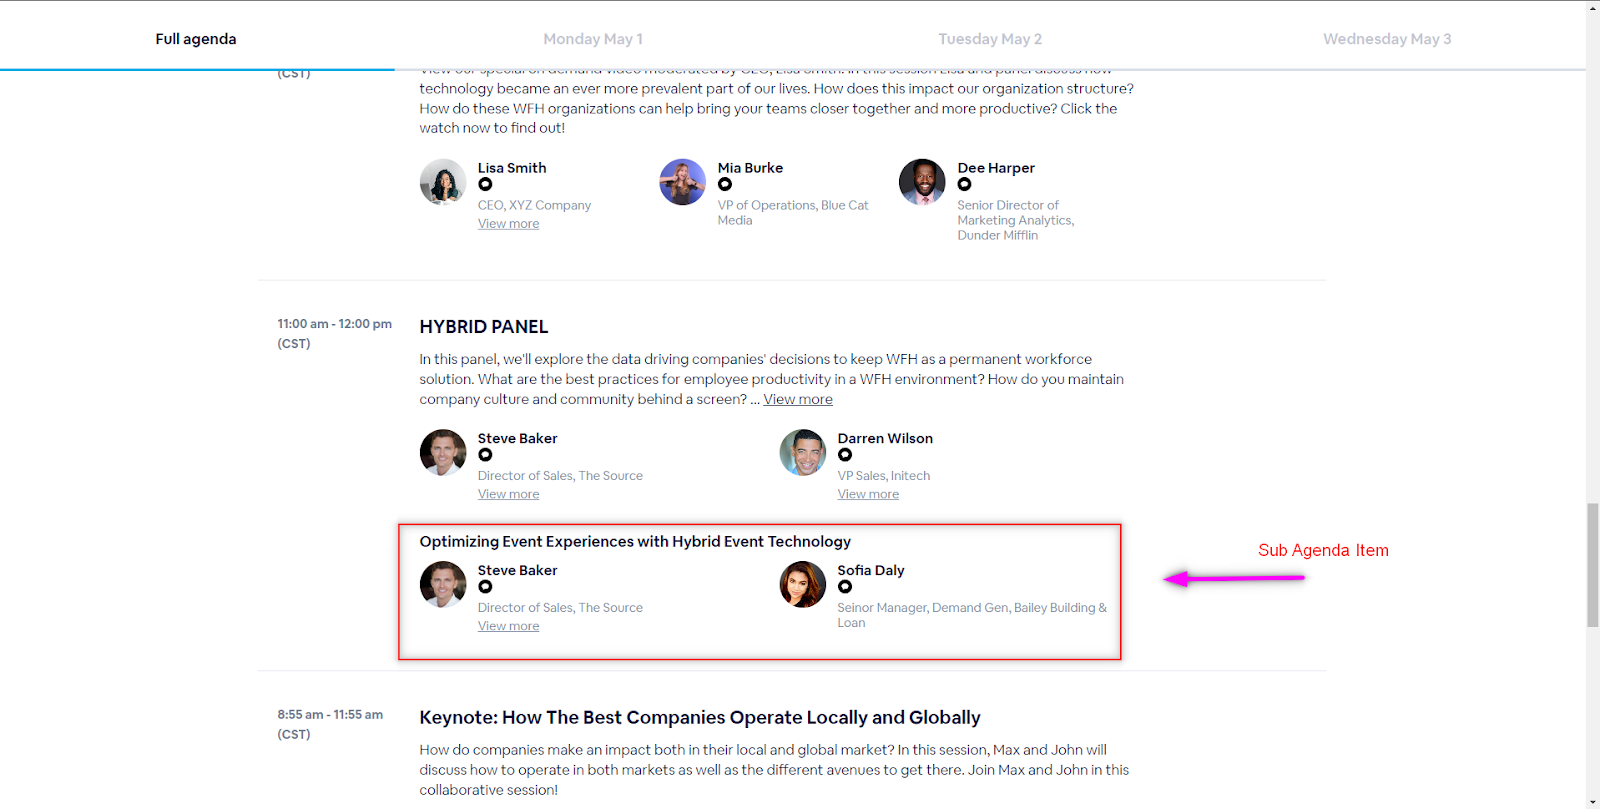
Select whether you would like the session to be added to the agenda as aseparate agenda item, a sub-agenda itemornot on the agendaat all.

- If a sub-agenda item is selected, use the dropdown menu to select which agenda item to attach it to or leave blank to create its own separate sub-agenda item.

10.ClickSave & Exit

You have a few optional choices for your sessions as well.You can create a session from anexisting template, have registrants who register to your main Agenda be registered to the session, or elect to use the session as a test session for dry-runs of your virtual event.
For Hybrid or On-site sessions, you can choose to have the session display on both the mobile and browser event, or just on the browser event.This way, you can segment your Agendas to show the sessions happening on that specific device.
Once saved, the session will appear on your Sessions tab where you can manage additional components.

Managing a Session
1.On the session of choice, click Manage

2.On theBasicstab, edit any of the original settings created when creating your session
3.On theGraphicstab, you can include thumbnail images and app banner images for the session that will display on the Companion app.Clickeditto upload the file for each image you'd like to display.

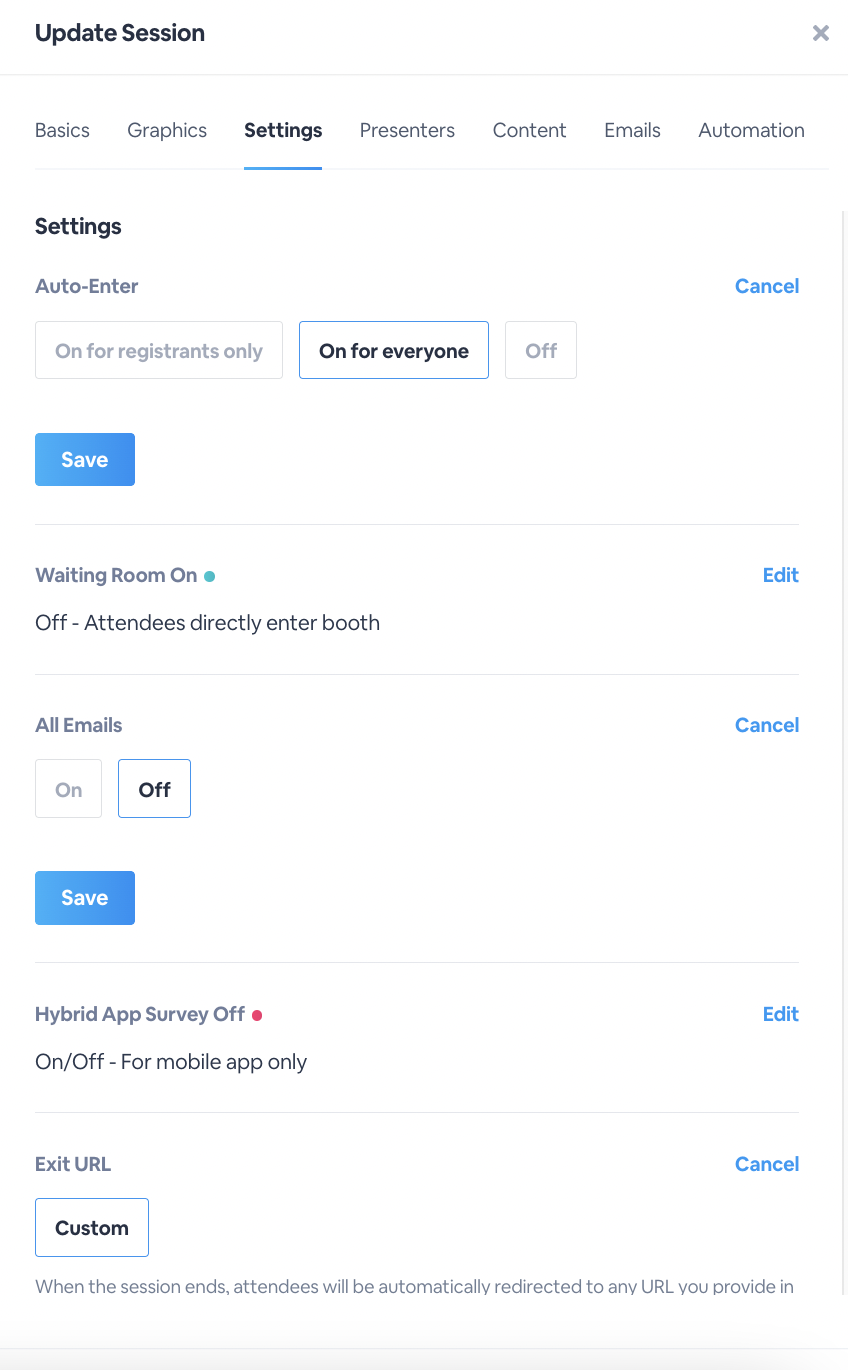
4.On theSettingstab, you can adjust the settings for each session.Each setting comes with more options to personalize the event.You will need to clickEditto adjust each.
- Auto Enter: Select whether you would like auto enter to be off, on for everyone or only for registrants
- Waiting Room: The waiting room is where attendees will wait before the event begins.This room can have audio or video and gives a preview of your event.Select whether you would like a waiting room for the session.If you would like a waiting room, select when attendees are able to enter it and if it should open automatically to the event.
- Emails: Setting on your emails for the session.If they are on, you can click Customize to be brought to the email backend to add in your customizations
- Exit URL: Customize the exit URL for your session
5.On thePresenterstab, you will be able to manage the presenters for the session.You can add presenters to the session, email them their personalized URL, copy the link for their personalized URL to manually send them or clickAdvanced Settingsto add new presenters to the session.

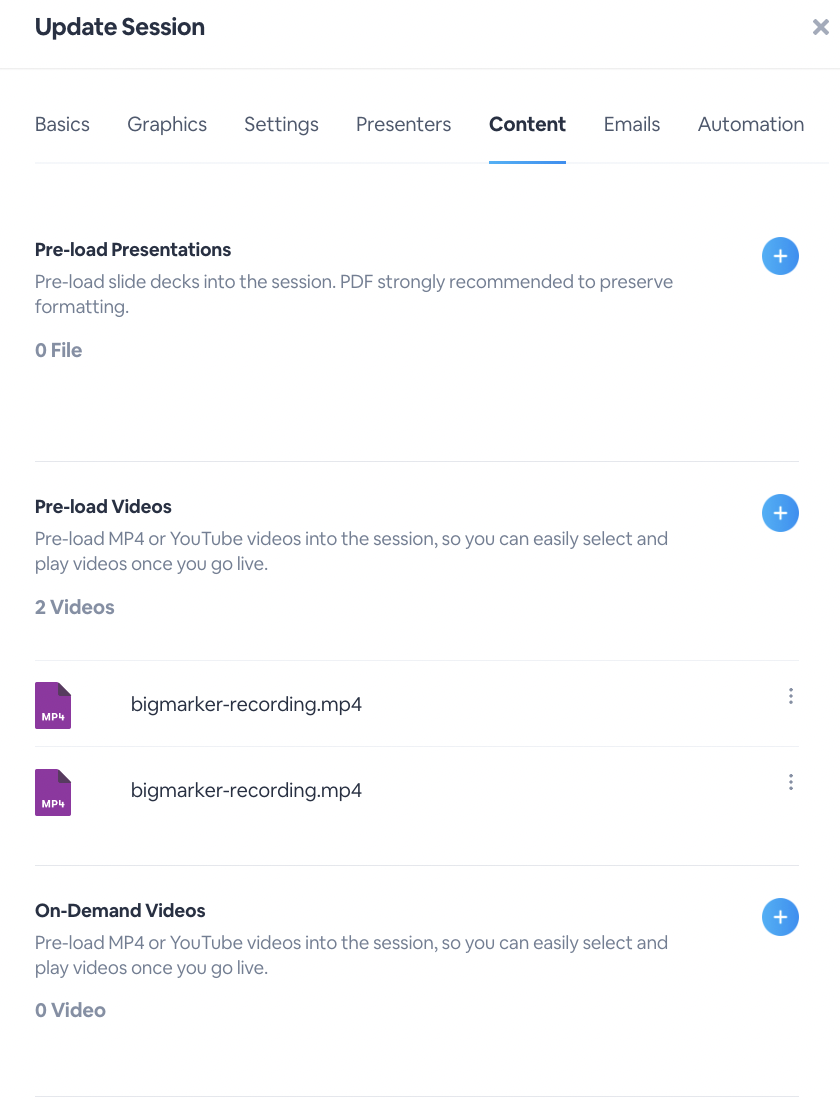
6.On theContenttab, you will be able to preload your session's materials, such as handouts, polls, presentations, videos, on-demand videos, and offers.Click theplusicon to add the material into its appropriate section.If you would like any of your content automated, refer to the Automation section below.
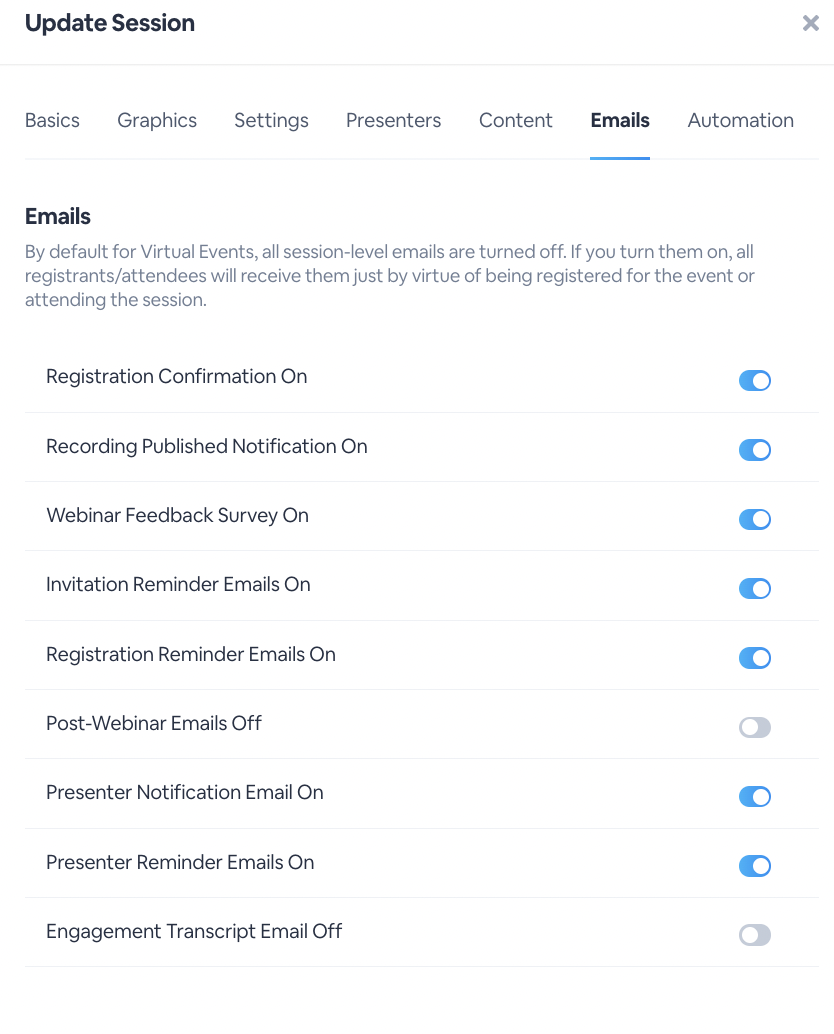
7.On theEmailstab, you will be able to turn on the emails needed for the session.As mentioned, you can clickCustomizeunder the Settings tab to add your customizations for each but you will need to turn them on under this tab.By default, they will all be disabled and you will need to toggle on the ones of choice.
8.On theAutomationtab, manage the automated timeline for your session.Click theplusicon to add automation for the session.

Watch the attendee experience of joining a session in live action: