Your Landing Page is the home page for your Virtual Event.This gives a preview about your event, such as presenter information, time and date and a description.
New as of 02/21/2023: For our Course Series template, you can adjust the display link text for any upcoming, live and on-demand sessions.Under theSessionstab, enter in your customized text.

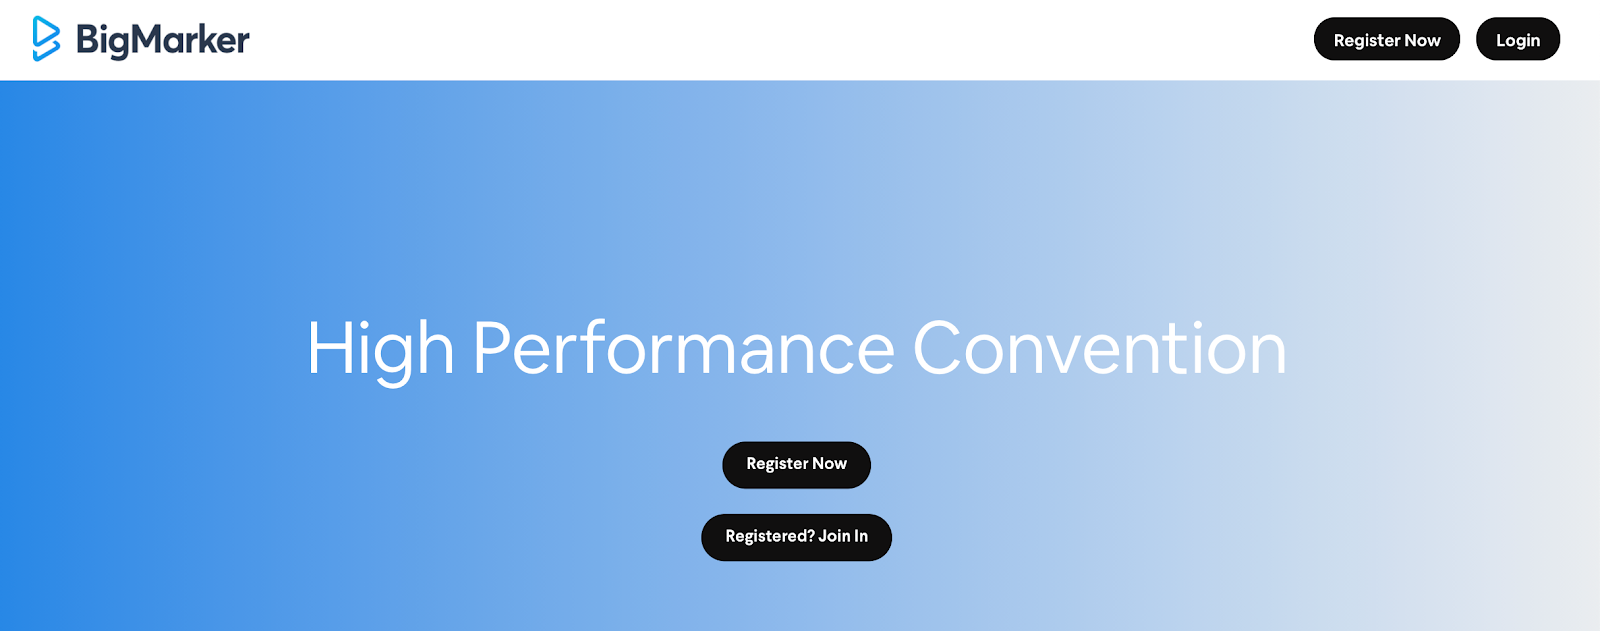
Your Landing Page is the home page for your Virtual Event.This gives a preview of your event to potential attendees and registered attendees.Anyone is able to register for your event, meet the speakers for the event, view your sponsors, see the agenda for the event and more.It's the overall first impression your audience will get once seeing your event.
Table of Contents:
1.Accessing Your Landing Page Editor
4.Designing the Bottom Call to Action
Accessing Your Landing Page Editor
1.Enter your event channel and select your event dashboard, located under Series.
Note:This will be the first webinar that you created when constructing your virtual event.
2.This will lead you to your event dashboard.ClickView Landing Pageon the top right corner of the dashboard to access your Landing Page.

3.This leads to an attendee view of your event's landing page.In the editor on the left-hand menu, you can begin to design your landing page.

Designing the Header
In the Header tab, you can do the following:
a.Upload a logo (at least 32 px tall) to appear in the upper left corner of the page, then add a URL for that image.Upload the logo under Logo Image, then insert the link under Logo URL. Check off the Use global navigation links for the header navigation links of your series to reflect the header navigation links of the main series.

b.Change the color of your page's header.UnderHeader Background Color, use the picker to select your desired color.Use the picker to select your desired color for yourHeader Navigation Link Color.

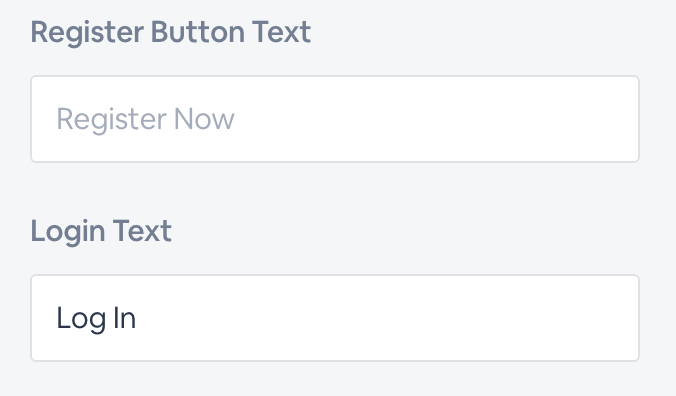
c.Change the text of the registration and login button in theRegister Button TextandLogin Text.
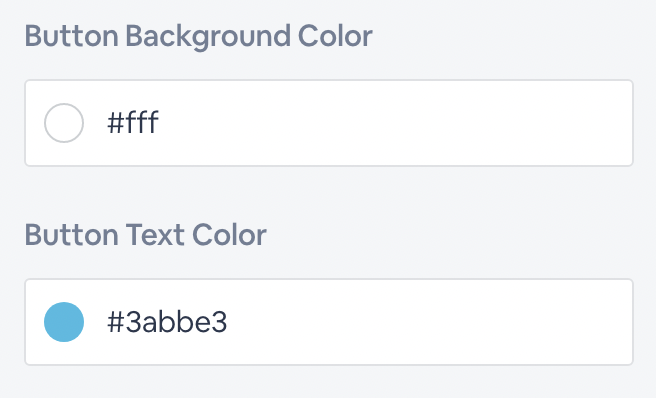
d.Change the color of your registration/login button and text using the picker to select your desired color underButton Background ColorandButton Text Color.
e.You have a few options of buttons to show on the Header.You can enable on:The Registration Button, Login Button, You're Registered Button, and a button to show theCurrent Session. For theLogin Button, you can enable a call to action for the users who have registered to bypass the registration form and login with their account information.
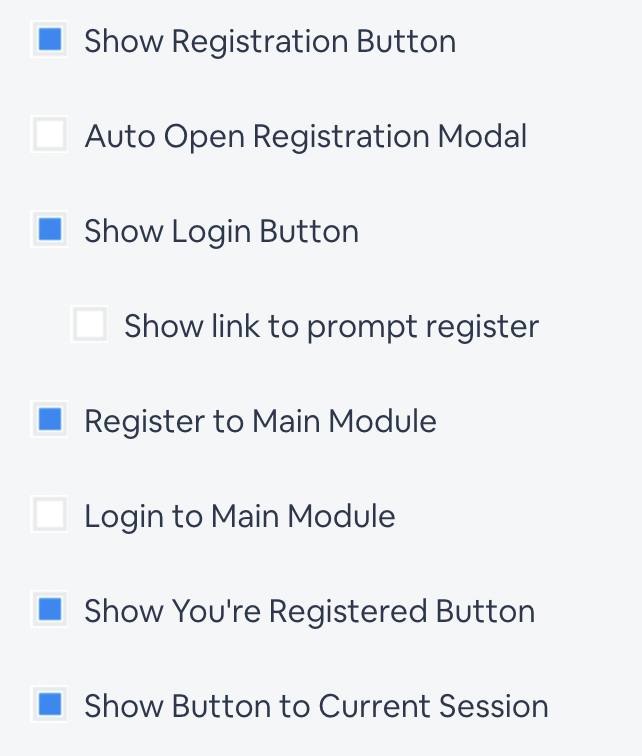
Additionally, you can enable on an auto-open registration module which will prompt registration to automatically open when the landing page is visited, register users to the main module when they are registering and redirect them to the main module when logging in.Check off theAuto Open Registration Modal, Register to Main ModuleorLogin to Main Moduleto enable on the desired functionality.
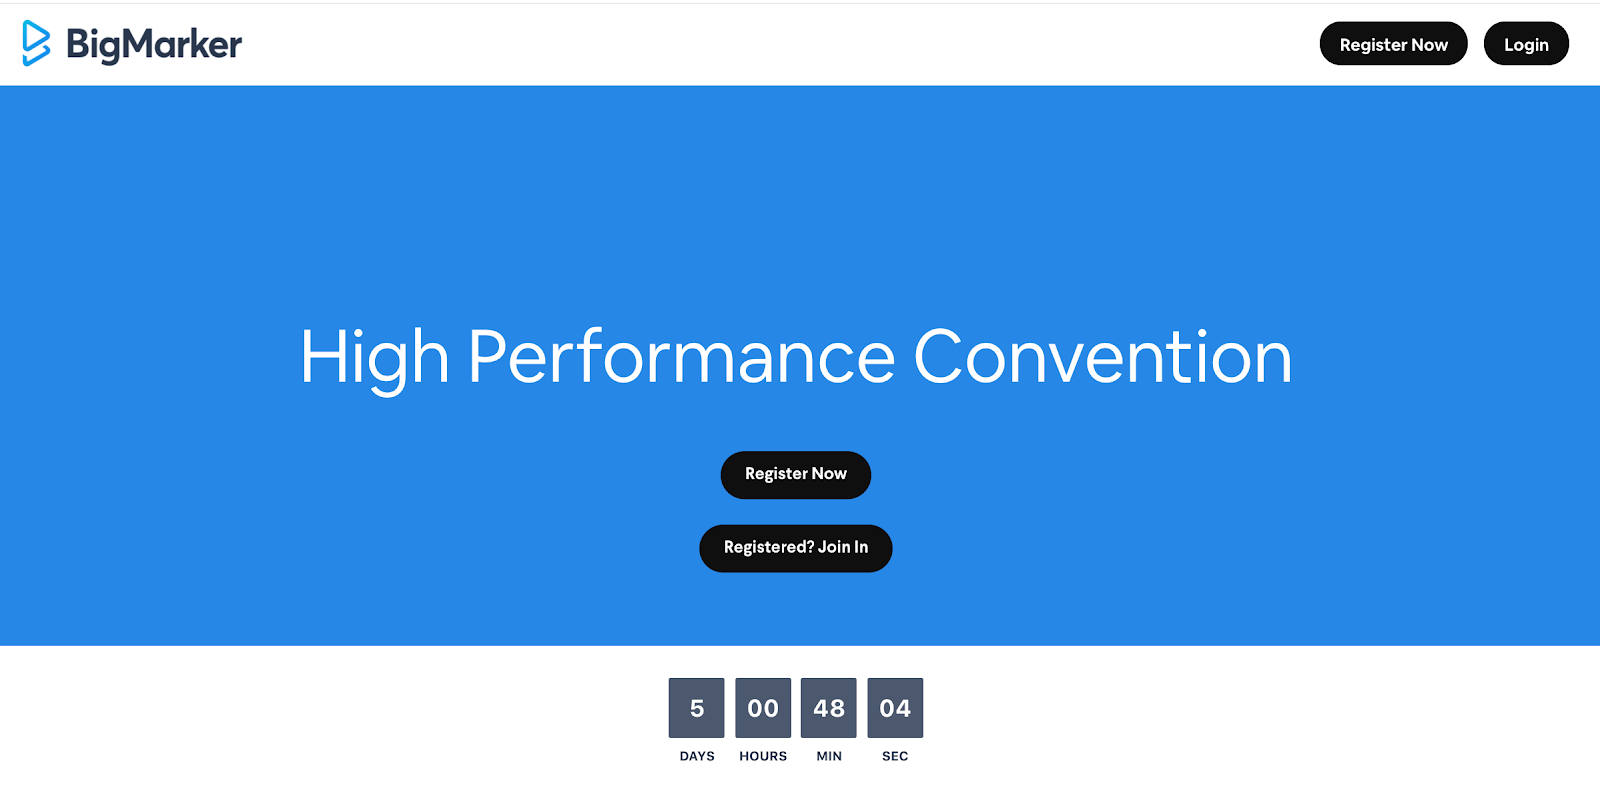
To edit the title banner, the main block of content visible to visitors when they first open your landing page, exit the Header tab, return to the left hand menu and selectTitle Banner.
Designing The Title Banner
Insert the title of your event inSeries Title.To remove your title from the title banner, uncheckShow Title in Banner.

To add a countdown to your title banner, enter the time and date of your event underCountdown Date.Then checkShow Count Downto add it to your title banner.
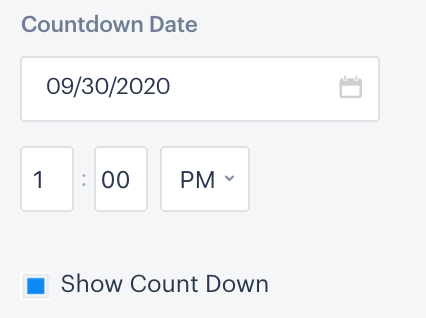
This will appear just below your title and registration button.
Below theCountdown DateandTime,customize your registration and already registered buttons.To add a registration button to your title banner, checkShow Registration Buttonin banner, then use the text box and color picker below to change the color and call to action (CTA) text as needed.
Note:This button automatically links to your event's registration form, so you don't need to manually enter a link within the editor.
You can also add an entry button for participants that have already registered for your event, which will be especially handy on event day.Do this by checkingShow Already Registered as button, then enter your desired display text.This button will automatically have the same background and text color as your registration button.

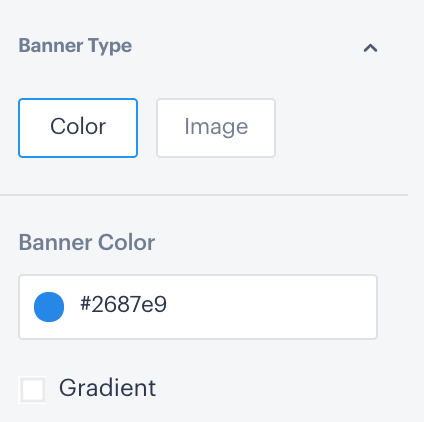
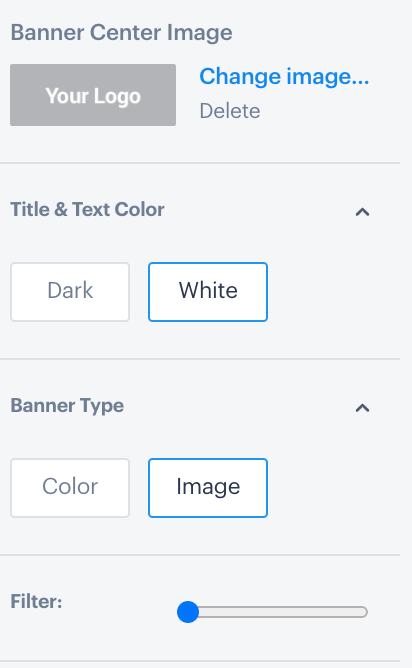
Next, customize your title banner's background and text.UnderBanner Type, select whether your title banner background will be a solid color or image.If you choose a solid color, you will pick your desired color in the picker just below.
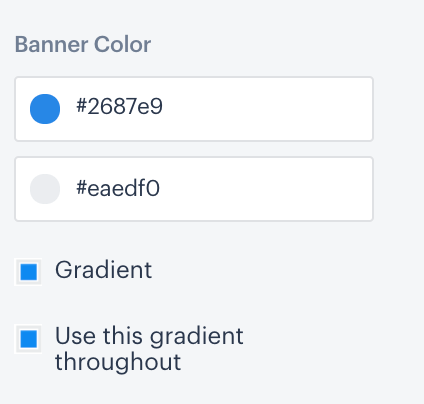
You can also create a gradient background by checkingGradient.Enter a second color in the second picker that follows, then select Use this gradient throughout.
If you opt for a background image instead, upload your desired image underBanner Center Image, located above Banner Type.Once you've added a background image, you can change its opacity with the filter below.
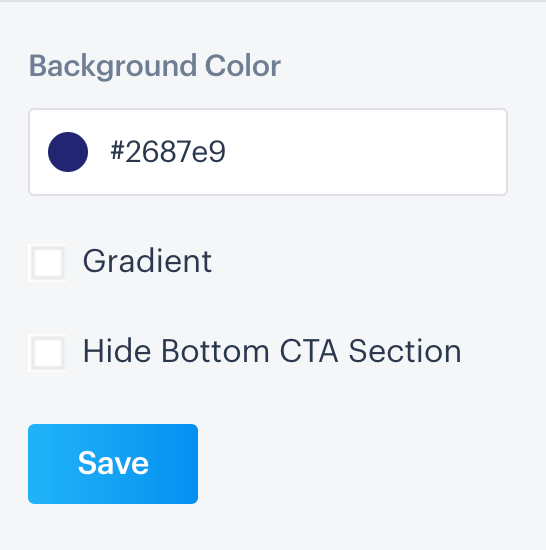
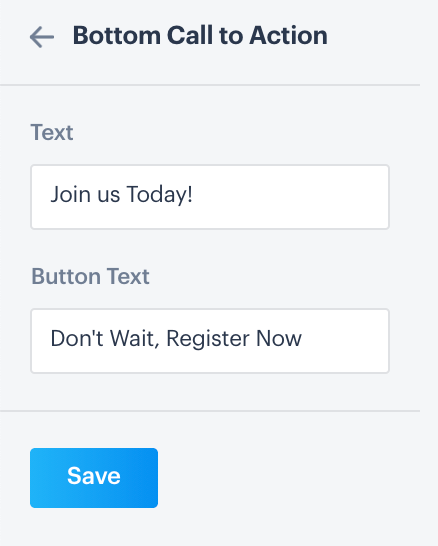
Designing the Bottom Call to Action
In the left hand editor, selectBottom Call to Action.Here, you can enter Call to Action text that will appear on the bottom of your landing page, as well as text for a registration button.
To change the background color displayed here, switch to the Title Banner tab, then change it there.

Change the background color of this section with the picker underBackground Color.You can also remove this section from your landing page by checkingHide Bottom CTAsection.